
 by
by 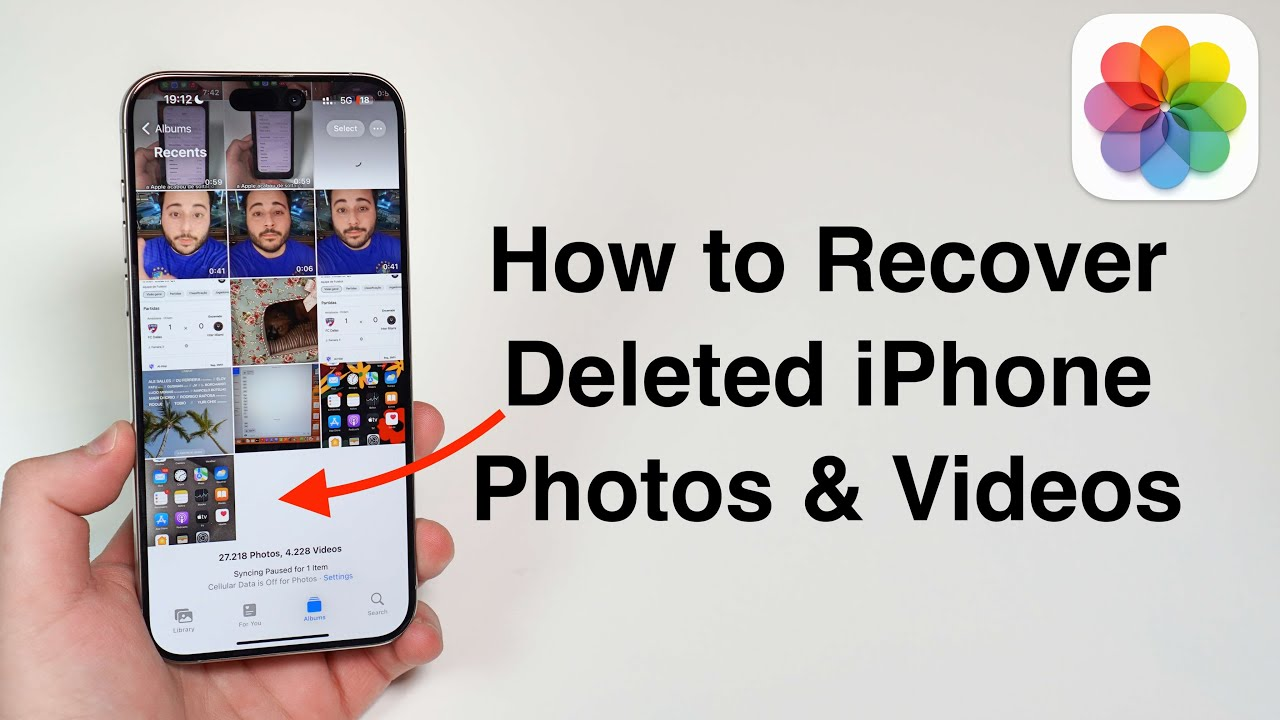
Accidentally deleting photos from your iPhone can be distressing, especially when they hold sentimental value. Fortunately, there are multiple methods to recover these images, whether they were deleted recently or have been missing for a while. This guide will walk you through various recovery options to help you restore your cherished photos.
Table of contents
- iPhone Photo Deletion and Recovery
- Method 1: Recovering Photos from the ‘Recently Deleted’ Album
- Method 2: Restoring Photos from an iCloud Backup
- Method 3: Restoring Photos via iTunes or Finder Backup
- Method 4: Utilizing Third-Party Data Recovery Software
- Method 5: Checking Other Cloud Services and Social Media
- Preventative Measures to Protect Your Photos
- Conclusion
iPhone Photo Deletion and Recovery
When you delete a photo on your iPhone, it isn’t immediately erased. Instead, it’s moved to the “Recently Deleted” album, where it remains for 30 days before permanent deletion. This design offers a safety net for accidental deletions. However, if the 30-day window has passed or you’ve emptied the “Recently Deleted” album, recovery becomes more challenging but not impossible.
Method 1: Recovering Photos from the ‘Recently Deleted’ Album
The simplest way to recover deleted photos is through the “Recently Deleted” album:
- Open the Photos App: Launch the Photos app on your iPhone.
- Navigate to Albums: Tap on the “Albums” tab at the bottom.
- Access Recently Deleted: Scroll down to the “Utilities” section and select “Recently Deleted.”
- Select Photos: Tap “Select” at the top-right corner and choose the photos you want to recover.
- Recover Photos: Tap “Recover” at the bottom-right corner and confirm by tapping “Recover Photo(s).”
This method is effective within the 30-day grace period provided by Apple.
Method 2: Restoring Photos from an iCloud Backup
If the photos are no longer in the “Recently Deleted” album, restoring from an iCloud backup is a viable option. Note that this process will replace current data with the data from the backup date.
Check for Available iCloud Backups:
- Open Settings: Go to the Settings app.
- Tap Your Name: Select your Apple ID at the top.
- Access iCloud: Tap “iCloud,” then “Manage Storage,” and finally “Backups.”
- Review Backups: Check the list of backups and their dates to find one that likely contains your deleted photos.
Restore from iCloud Backup:
- Erase All Content: Navigate to Settings > General > Reset > Erase All Content and Settings. Confirm the action.
- Set Up iPhone: After the device restarts, follow the setup prompts.
- Restore from iCloud Backup: When prompted, choose “Restore from iCloud Backup” and sign in with your Apple ID.
- Select Backup: Pick the backup that contains your deleted photos.
Be aware that this method will revert your iPhone to the state it was in on the backup date, potentially leading to the loss of newer data.
Method 3: Restoring Photos via iTunes or Finder Backup
For those who have backed up their iPhone to a computer using iTunes (on Windows or macOS Mojave and earlier) or Finder (on macOS Catalina and later), this method can help recover deleted photos.
Restore Using iTunes:
- Connect iPhone to Computer: Use a USB cable to connect your iPhone.
- Launch iTunes: Open iTunes on your computer.
- Select Device: Click the iPhone icon in the upper-left corner.
- Restore Backup: Click “Restore Backup,” choose the appropriate backup, and click “Restore.”
Restore Using Finder:
- Connect iPhone to Mac: Use a USB cable to connect your iPhone.
- Open Finder: Click on Finder in the Dock.
- Select iPhone: Your iPhone should appear in the sidebar under “Locations.”
- Restore Backup: Click “Restore Backup,” select the desired backup, and click “Restore.”
Ensure that the chosen backup predates the deletion of your photos. Similar to the iCloud method, this will overwrite current data with the backup data.
Method 4: Utilizing Third-Party Data Recovery Software
If you don’t have a suitable backup or the above methods aren’t feasible, third-party data recovery tools can be an alternative. Some reputable options include:
- Disk Drill: Known for its user-friendly interface and effective recovery capabilities.
- Dr.Fone by Wondershare: Offers comprehensive data recovery solutions for iOS devices.
- EaseUS MobiSaver: Supports recovery of various data types, including photos.
Using Third-Party Software:
- Download and Install: Choose a reputable recovery tool and install it on your computer.
- Connect iPhone: Use a USB cable to connect your iPhone to the computer.
- Run the Software: Launch the application and follow the on-screen instructions to scan your device.
- Preview and Recover: After scanning, preview the recoverable photos and select those you wish to restore.
Caution: Using third-party software carries risks, such as data corruption or privacy concerns. Always download software from official websites and ensure it’s compatible with your device and iOS version.
Method 5: Checking Other Cloud Services and Social Media
If you use other cloud storage services or have shared photos on social media, your deleted photos might still be accessible:
- Google Photos: If you had backup enabled, deleted photos might still be available in the trash for 60 days.
- Dropbox: Check the “Photos” or “Camera Uploads” folders.
- Social Media: Photos shared on platforms like Facebook or Instagram can be downloaded back to your device.
Regularly backing up photos to multiple platforms can provide additional safety nets against data loss.
Preventative Measures to Protect Your Photos
To minimize the risk of losing important photos in the future, consider the following practices:
- Enable iCloud Photos: Automatically sync your photos across all Apple devices and store them in iCloud.
- Regular Backups: Schedule regular backups via iCloud or iTunes/Finder to ensure you have recent copies of your data.
- Use Alternative Cloud Services: Services like Google Photos offer additional backup options and can be set to upload photos automatically.
- Be Cautious with Deletions: Double-check before deleting photos, especially when clearing the “Recently Deleted” album.
By implementing these measures, you can safeguard your photos and reduce the likelihood of permanent loss.
Restoring Your Memories
Losing photos can be a distressing experience, but with the methods outlined above, you have a good chance of recovering your cherished memories. Whether through built-in features like the “Recently Deleted” album or advanced recovery tools, there’s always hope for restoring your precious photos.
Stay Updated: Follow us on Facebook, X (formerly Twitter), and LinkedIn for more tips, tools, and updates on Apple.
